I started making my own sandwich bread in the beginning of the pandemic lockdown. We didn’t outsource anything unless absolutely necessary for a whole year, and a lot of really great things came out of that time. I developed recipes that are now family favorites… we became much more environmentally conscious as a whole… and are all around a closer and wiser team after going through everything that we did together.
Plus, being out of bread is a horror movie plotline in my world.
I’ve been making my own ‘breakfast bread‘ since my oldest was a tiny bean inside my belly and my kids and I still rely on it most mornings… I’ve made Italian bread whenever needed… My husband now makes some killer sourdough… But it just never occured to me to make my own sandwich bread. Now it seems weird to buy such a thing, but it truly just never crossed my mind before. Then we found ourselves in the middle of one of the scariest times (or at the very least, scarily uncertain times) and I just started thinking about most things incredibly differently than I ever had before.
During that time I changed forever, my family changed forever,
and among many, many other things – this recipe was birthed.
Nowadays I’m completely able to go to the store to pick up sandwich bread whenever I so desire, but I just don’t want to. I love this recipe, I’m proud of this recipe, and I receive 0 complaints from the family on this recipe.
Sometimes bread is just bread. A recipe is just a list of instructions. And food is just fuel.
And sometimes a recipe for bread stands for change, hope, and the greater good.
I’m happy to finally be sharing her with you all.
My Sandwich Bread

(Note – If you’re going to get serious with this sandwich bread making, I highly recommend buying Pullman loaf pans with fitted lids. I prefer using 2 of the smaller sized pans (8.5 x 4.75 x 4.375 in).
CLICK HERE FOR THE EXACT PAN I USE (remember I use 2 for this one recipe)

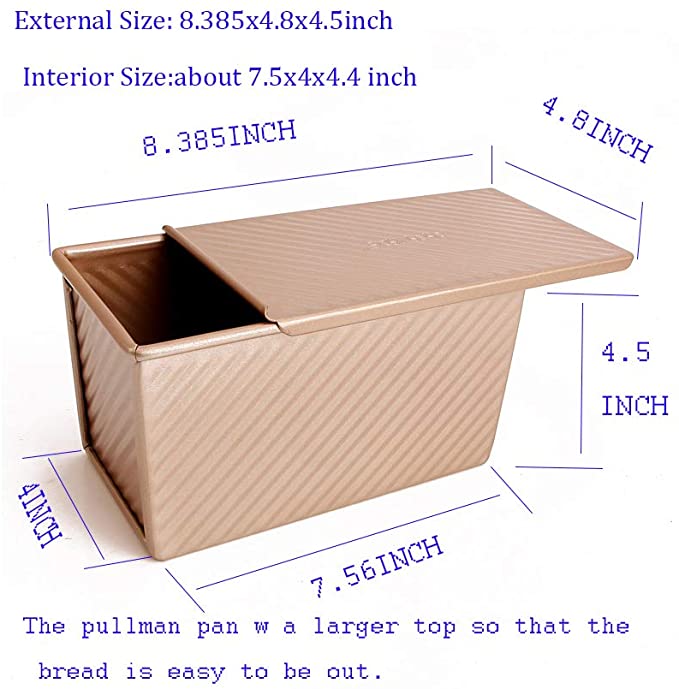
But if you’re just starting out and simply curious, by all means – use standard loaf pans and see how you like the recipe and process! The loaf shape will be different, and you’ll get a dome loaf, since the pullman pans come with lids to ensure you get an exact rectangle every time.)
Recipe :
Dry ingredients :
- 6 cups all purpose unbleached flour OR unbleached bread flour and see note* (or use a whole grain! the texture would be a bit drier that way, but use what you prefer and make it your own)
- 1/3 cup white sugar
- 1/3 cup potato flakes / dehydrated potato (not flavored please 😉 )
- 1/3 cup milk powder / dry milk
- 2 1/2 tsp yeast
- 3 tsp kosher salt
- (optional but leads to a better loaf : 6 tsp vital wheat gluten *unless you’re using bread flour*)
Wet ingredients :
- 1 cup warm milk (sometimes I use buttermilk or homemade kefir! (hot bath water temp)
- 1 1/4 cup warm water (hot bath water temp)
- 1 stick / 8 TB / 1/2 cup unsalted butter, melted
Instructions and banter :
Mix all of the dry in your stand mixer with the paddle attachment until fully combined.
With the mixer on low, slowly add the wet in whatever order you desire (I’ve done it all sorts of ways, the dough does not care)
Mix until you have a wet dough.
Transfer to a lightly floured surface and knead until no longer sticky, adding very small amounts of flour as / if needed. Depending on the weather, you may be scraping the dough from the mixer with a spatula to get it all out.
Once kneaded and firm, grease that same mixer bowl well with olive oil or a cooking spray – bottom and sides all the way up to the top.
Put the dough back in and grease the top of the dough as well.
Cover with plastic or a kitchen towel and place somewhere warm to rise for an hour – or 2, tops.
You want it to double in size, and this all depends on the weather that day.
Transfer the risen dough to a lightly floured surface and cut in half.
You likely won’t need kneading flour at this point, but knead each half until firm again.
Shape into a somewhat log shape and place into your well-greased loaf pans, seem-side down.
Cover the pans and allow to rise again in a warm spot for about an hour / until the dough reaches the top of the pans and touches the lid (note if you’re using the pullman loaf pans with lids like me, you will tell they’re ready to be baked when you cannot remove the lids due to the risen dough!)
(Extra ‘just in’ note – this step can go too far if you’re not really watching it. It can go from perfectly risen and ready to bake, to oozing out of the side of the lid in a matter of seconds. Please see below photo of what literally happened while I was finishing the above sentence (yes I am baking as I type🤓)
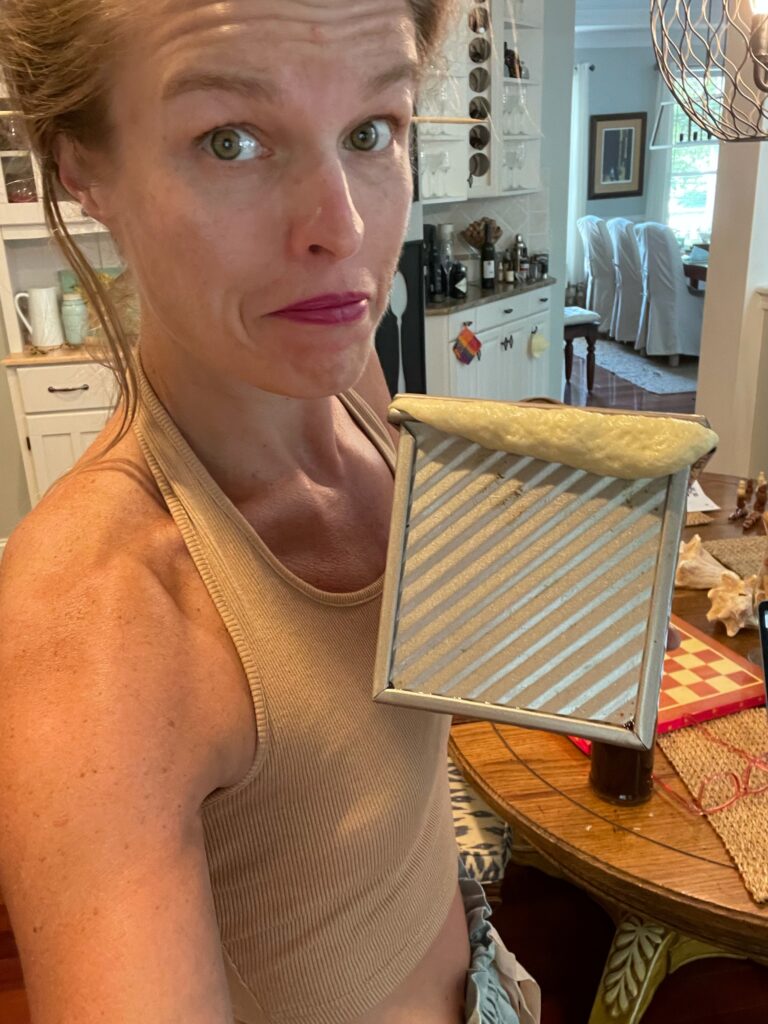
(If / when this happens to you, just scoop it off, save it for a snack and wait for more to happen in the oven as it continues to rise
#HappyDough
Once risen / over-risen, preheat your oven to 350
Bake loaves for 20 minutes.
Remove the lids and continue baking for 15 minutes.
(if you are using loaf pans without the fitted lids, do not attempt to cover them with anything you feel would double as a fitted lid. I tried it once with a cast iron skillet covering the pan and the dough was so strong that it kicked it off and I had a very big mess to clean up.
#HulkyDough
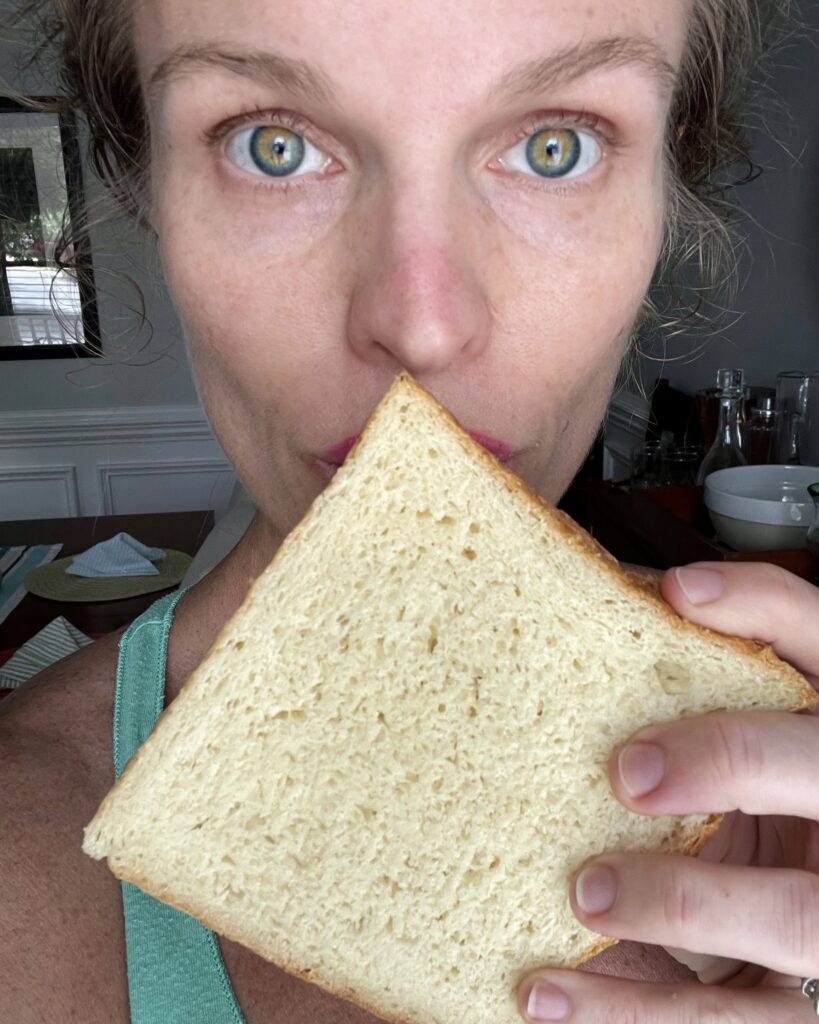
The bread is done when it’s golden brown, has pulled from the edges and is firm when you knock on its bottom.
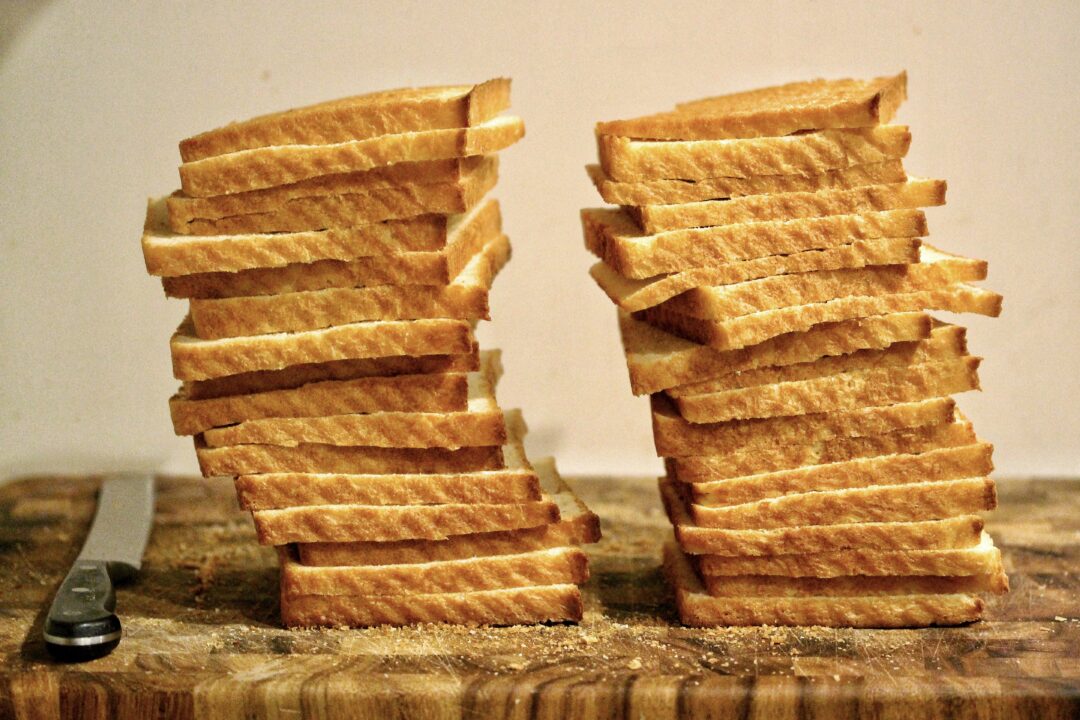
Transfer to cooling racks to cool completely before slicing. I never get the same amount of slices because I’m equally terrible with both patience and consistency. It tastes the same, though, and no one seems to be bothered.
I slice both of mine after they cool and then freeze each in freezer zip bags, pulling the slices as needed throughout the week, but you do you. It can go stale quickly – because it’s homemade! – so keep that in mind.
…
that’s all she wrote for today. love to you all / thanks for reading / I just made a giant mess in the kitchen x


No Comments