I feel like I’m safe to discuss bread, right? Nobody’s gonna come at me on the subject of bread, yes? (Oh, what’s that? You gluten-free? Go and search my homepage for tons of yummy, starchy options for you. But please, there’s no need to threaten my life over this photo of bread loaves.)
Let’s all hold hands and breathe and bond over carbs, yeah? Yeah.
One of my favorite things on the planet is bread.
Right after my family, bread is pretty high up on that list. Sometimes bread ties with my husband.
It’s ok, he’s aware.
I eat a giant hunk of my sweet sourdough bread every single morning of my life. You know this. I’ve told you this. So, basically that means I’m making bread every week of my life. But I love it so. Everything about it.
And if you follow me on Instagram, you may have seen me romanticize and ramble on about bread the other day…
…
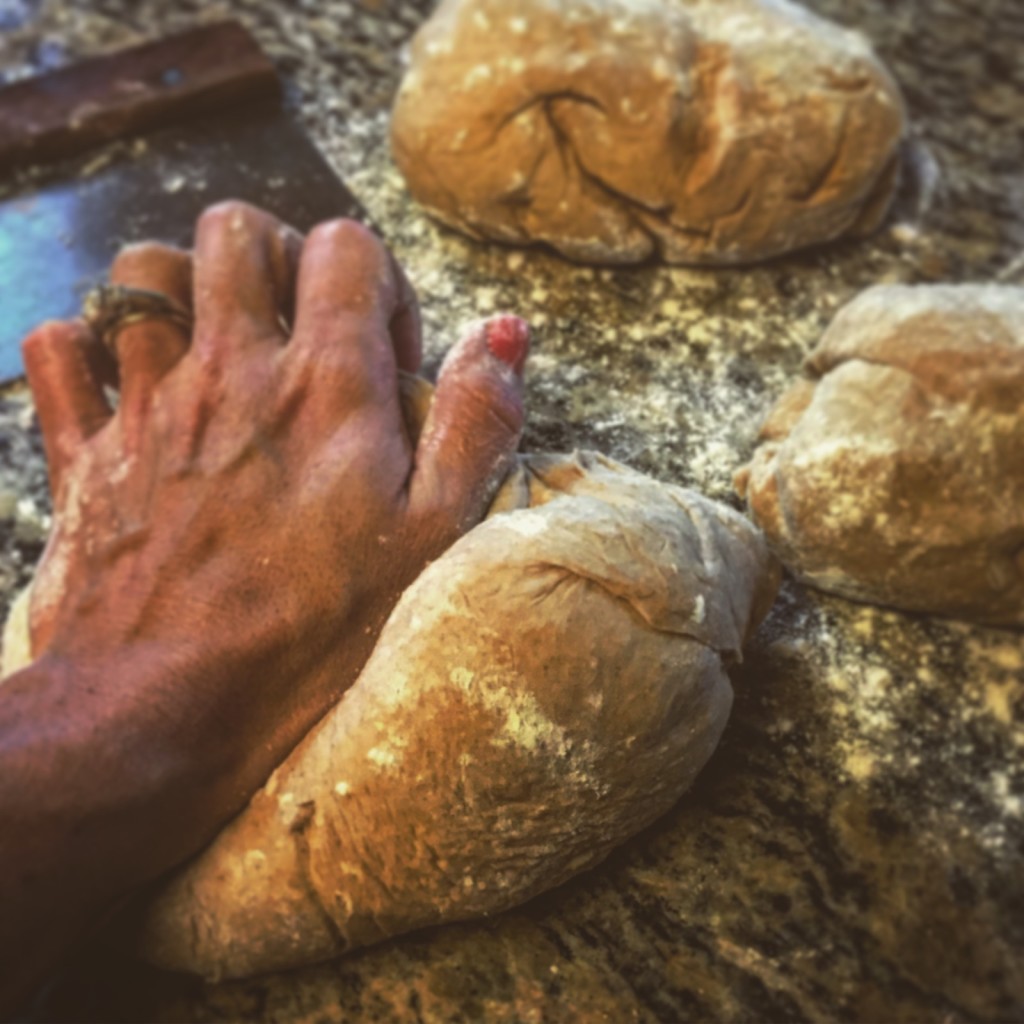
Kneading bread is one of those things I will never grow tired of. I do it weekly, and still enjoy every second of it. Warm dough between your fingers is one of life’s simple pleasures. It makes me feel like a chef, like a mother, like a woman… It reminds me that I’m an old soul who’s ancestors did this years before me.
I love every thing about making bread. How it feels, how it smells, how I can watch a few humble ingredients mix together and become something so perfectly and simply beautiful. And I love that my tiny hands created that magic.
Really good bread means someone who loves it made it. Think about that next time you bite into a warm and crusty loaf, so tender and still steamy on the inside… the kind of bite that makes you close your eyes and let out an audible breath.
That bread was made with love.
…
This here is a recipe for Italian bread. The sourdough bread I recently shared uses a sourdough starter to help it rise (fed with potato flakes and sugar). This one uses yeast. They’re different species of the same animal- both equally as lovely. And this is the best Italian bread recipe I know of. It’s adapted from a recipe given to me by my mother, who got it from an old Italian woman years ago. This recipe has never failed me, and I’ve made it dozens of times. As long as your yeast is fresh, your flour un-bugged, then you’re gonna have some kick-ass bread. Guaranteed.
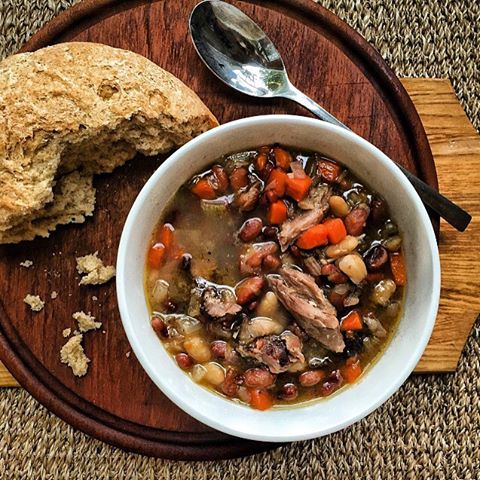
It’s great for sandwiches or toast, it’s superb for soup dipping…
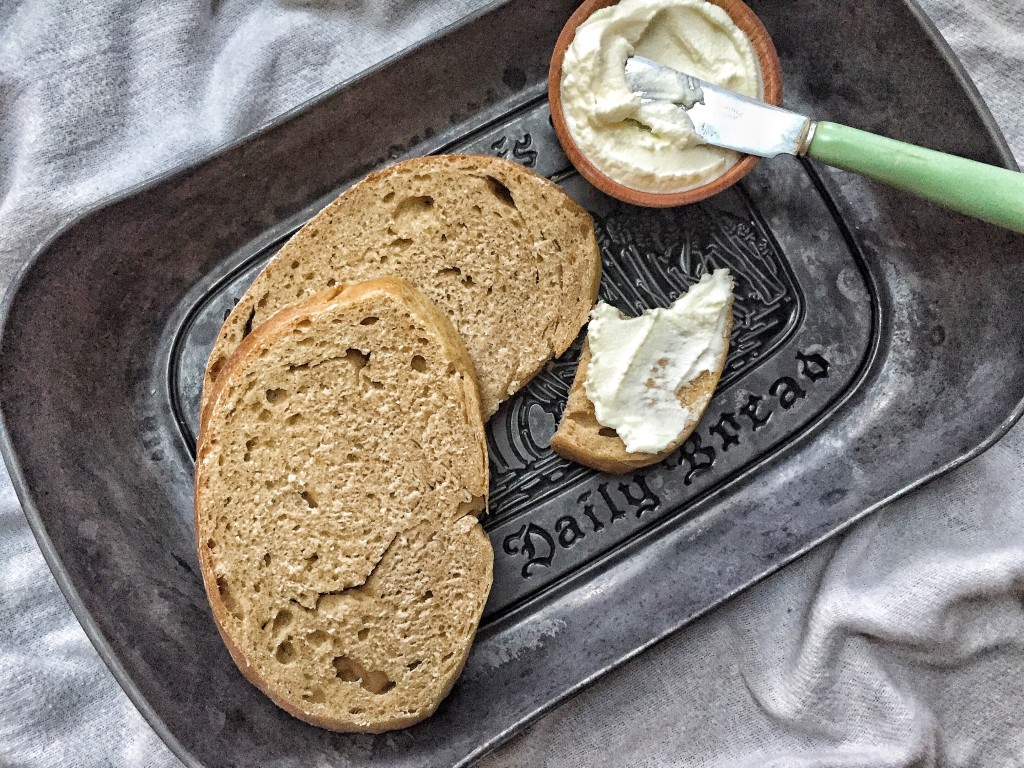
…it’s excellent sliced and slathered with anything your pretty, little heart desires (this here is my homemade ricotta, but softened and salted butter works ;-)…
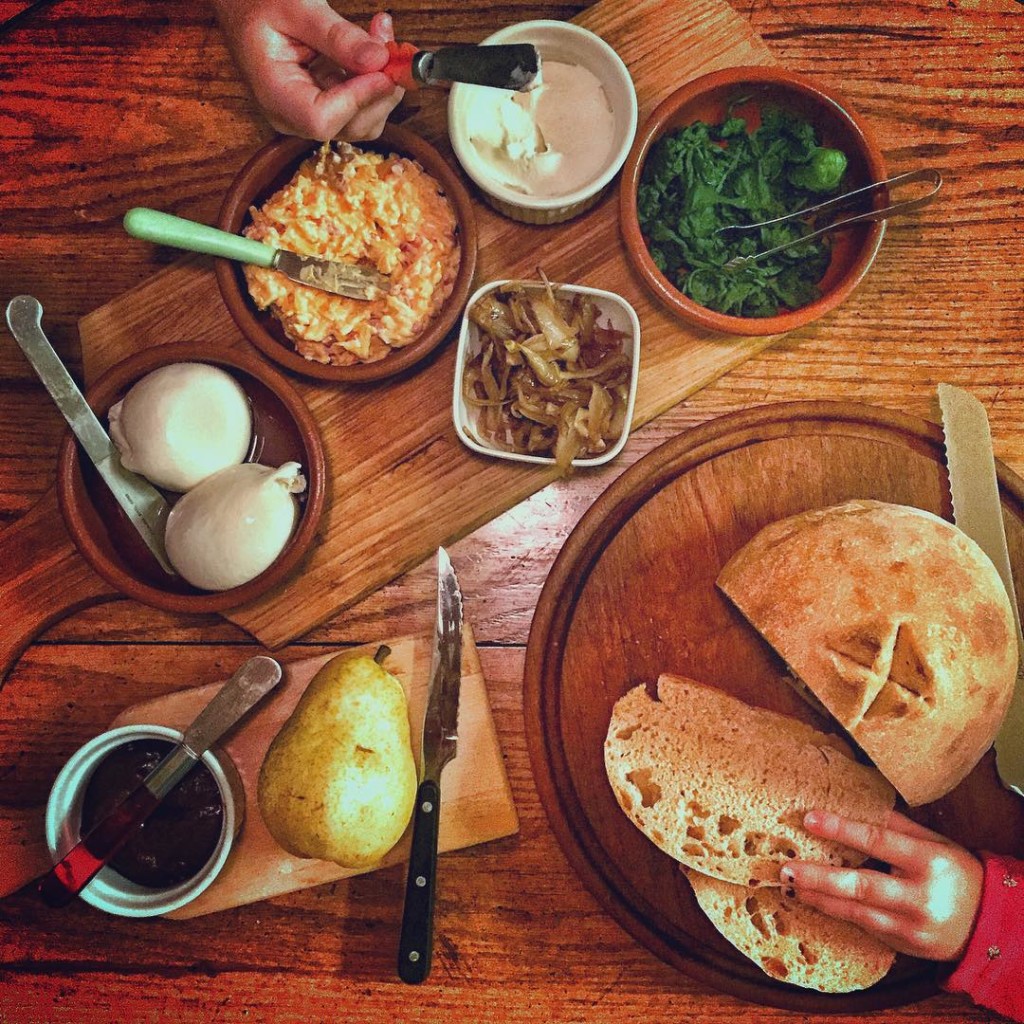
And my family loves to eat it for dinner with a bunch of different spreads and toppers on the day I bake it… it’s one of our favorite family meals 😉
It’s just really really good and perfect and awesome and I hope you try it.
Now if you’ll excuse me, I have some bread to tend to…
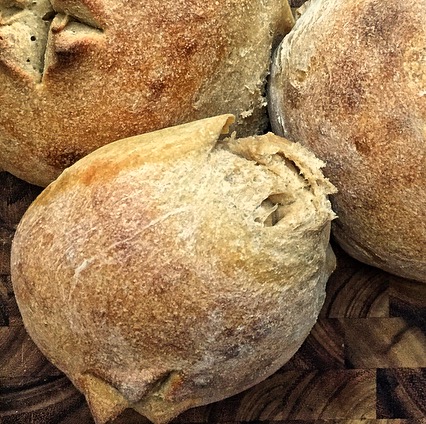
In the bowl of your standing mixer, add the following…
- 3 cups warm water (like really warm bath water, comfortable to the touch of your fingers…105-110 degrees if you wanna get technical)
- 1 TB active dry yeast
- 1/2 tsp sugar
Stir with a wooden spoon to dissolve the sugar and yeast into the water. Set aside and allow the yeast to proof. It will foam and that’s how you know it’s alive and ready. If after 5 minutes, your yeast has not foamed at all, it’s dead. You must start again with fresh yeast.
After proofed, add to the bowl…
- 1 TB kosher salt
- 2 cups white, unbleached flour + 3 tsp gluten (OR if you have bread flour, use 2 cups bread flour instead of the all purpose plus gluten)
- 2 cups whole wheat flour (I prefer the white whole wheat because it produces a more tender loaf)
- (note- you will need a total of 6-8 cups of flour for the recipe but are only adding 4 cups now)
With the paddle attachment, beat this until smooth and continue beating for a few minutes to help develop the gluten.
While your mixer is still on, gradually add in more of both the white and whole wheat flour (in even proportions) until you get a stiff dough. You want a dough ball to be clinging to the paddle tightly and it will be a little sticky but it should not be gummy and loose. (The amount of total flour added depends entirely on the weather that day.)
Turn the dough onto a floured surface and knead (with your hands) until smooth and no longer tacky. Form into a ball.
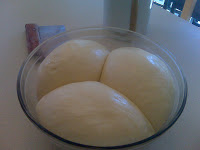
Grease a large glass bowl with olive oil and place the dough ball into the greased bowl, Flip it around to grease the top as well. Cover with plastic wrap and set in a warm place to rise and double in size.
Once risen, turn it onto a floured surface again and cut into 3 equal sized pieces. Knead each piece until, again, smooth and no longer tacky.
Form each piece into a ball. and place each ball back into the same large, greased bowl, greasing the top again, and cover with plastic wrap.
Allow to rise again, until doubled in size, in a warm place.
Once doubled, preheat your oven to 450 degrees. Place a roasting pan or large pot filled with water on the floor of your oven. This will create a steamy environment for the bread once its baking.
While the oven is preheating, knead those dough balls yet again, and set on a lightly greased baking sheet on top of the preheating oven. Cover gently with the plastic wrap again and allow them to slightly rise for a few minutes, while the oven comes up to temp. If you wait several minutes, they will again double in size. You don’t need to be too technical about the size of them though… the smaller they are, the more dense the loaf will be. When they’re larger, they’ll have more air pockets. It’s great either way – do what you have the time to do 😉
When they’re ready for baking, remove the plastic wrap and slice across the top of each dough ball one or two times with a sharp knife.
Place in the hot oven and bake for 20-30 minutes, or until they’re golden brown on the tops and are firm to the touch. If you thump the bottom of the loaves, they should sound relatively hollow.
Allow to cool slightly and serve warm immediately, or cool completely to wrap in plastic, then foil, and freeze for up to 3 months.
One loaf will keep at room temperature for 3 days before starting to go stale.
Eat it warm, room temperature, toasted or naked. Just eat it. And smile.
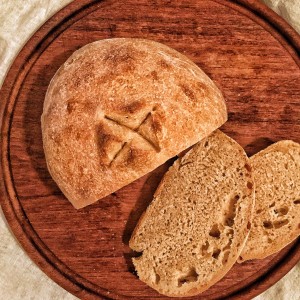
And also, don’t forget to smell it. The smelling is almost the best part!!!
Thanks for reading, y’all. XO



2 Comments
I remember the recipe! Is it the one that says knead until it’s soft as a babies bottom? it might even have said bambino…
Hahaha!!! I do believe you’re right… It’s been adapted and changed a few times but that absolutely sounds familiar. (And also a great way to know when the dough is ready? 😉