
I don’t take a lot of pre-made shortcuts. I think you’re all aware of that. It’s not because I’m snobby about convenience foods… it’s just that I like making as much as I can myself, that way I can control what I’m feeding myself. And my family. But then sometimes, you just want something quick and easy.
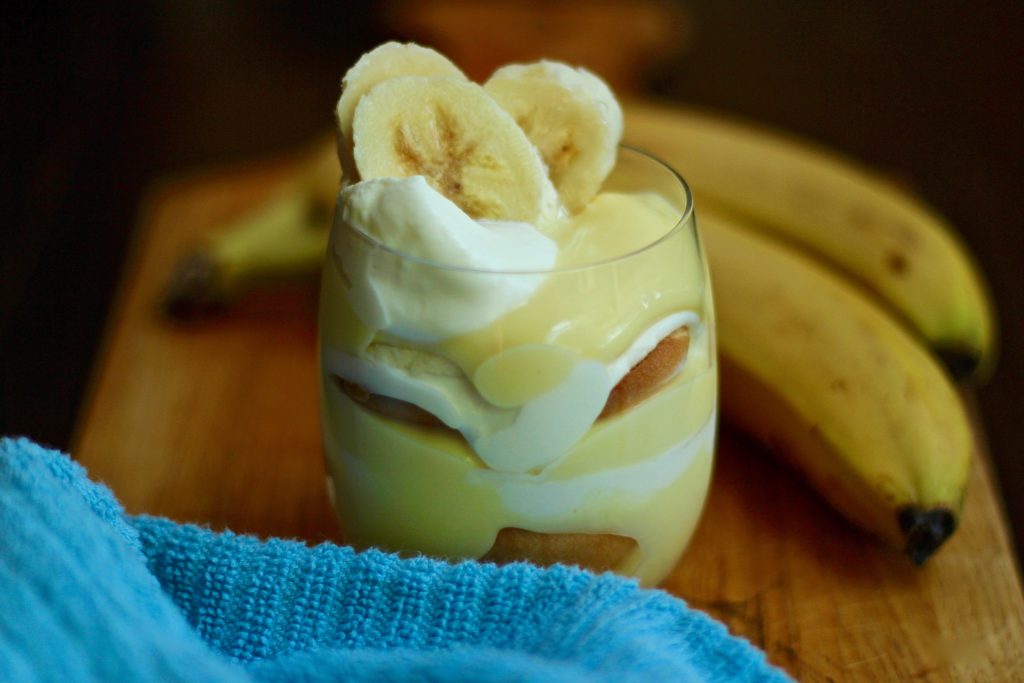
I made this banana pudding as a test to see if it would taste as good as my long, from-scratch version (see Salted Caramel Banana Pudding Cheesecake), which I love, and will continue to make because I really do just enjoy all parts of cooking. BUT, this right here was super delicious. And took me no time at all. I brought it to an outdoor concert/picnic with the family and a good friend who happens to love banana pudding. (Not gonna lie… whenever I hear the words, ‘My mother makes the best____…’, I get a little nervous. But I think I did ok here 😉 ).
It’s easy to think you need to start from scratch to end up with something amazing. But, know what? That’s just horse poop. Once in awhile using shortcuts is exactly what you need. It gives you more time to spend with the people you love. And it also feels kinda like you won a secret prize when it comes out great…
Sometimes we gotta give in a little and allow ourselves to take a break… then we realize that maybe working so damn hard isn’t worth it after all.
QUICKLY SOUTHERN BANANA PUDDING

serves about 6-8, depending on the sizes you choose to make your servings!
. p u d d i n g .
In a medium mixing bowl, begin to mix the following, in order…
- 1 (3.4 oz) packet instant vanilla pudding mix
- 1 1/2 cups ice cold water
- 1 (14 oz) can sweetened condensed milk
- 1 cup sour cream
(The sour cream in this is what makes it not taste like store-bought pudding mixed with canned milk. I swear you’d think it was homemade!)
- Mix pudding + water with a whisk until the pudding mix has dissolved, and it’s creamy and starting to thicken.
- Whisk in the sweetened condensed milk until thoroughly mixed.
- Whisk in the sour cream until thoroughly mixed.
(I’ve tried skipping steps and dumping it all in at once, but the consistency never gets right.)
Cover and refrigerate for about 15 minutes, but longer is totally acceptable.
. w h i p p e d c r e a m .
I have a special trick I use whenever I make whipped cream… because I like to make things ahead of time as much as possible, and whipped cream tends to fall. So… I stabilize it with some marshmallow ‘fluff’ and it sweetens it just enough, and also will not allow it to separate or deflate. It’s a killer trick, so be sure to bookmark this for the holidays!)
In a very large mixing bowl, add the following…
- 1 cup heavy cream (1/2 pint), very cold
- 1 large spoonful of marshmallow fluff/cream
Mix this with an electric beater… start slow!!! You’ll have to chase that spoonful of fluff around that bowl of cream a little bit at first, so be prepared for battle. But it’ll break down! (A really large bowl is key to catch the splashes.)
Whip until soft peaks form.
Cover and refrigerate if making later, or set aside.
. b a n a n a s .
I prefer using bright yellow bananas, with as little black on them as possible.
You’ll need…
- about 3-4 bananas, depending on how banana-heavy your layering skills are 😉
. v a n i l l a w a f e r c o o k i e s .
You do not need name brand cookies here. Buy whatever vanilla wafers you feel like buying! Also play around with other cookies as well – graham crackers, shortbread, gingerbread…
You’ll need…
- 1 (12 oz) box vanilla wafers (you won’t use all of them… or maybe you will?)
I like making individual serving sizes with this. But if you prefer a large size, go with a serving bowl in the 3-4 quart range.
Layer vanilla wafer cookies along the bottom of a water/wine/martini glass, or ramekin. (Taking it to-go? Use an 8 oz size plastic container with a lid!)
- Spoon some pudding mixture to cover the cookies. Sprinkle some kosher salt over the pudding.
- Layer with sliced bananas.
- Cover with some whipped cream.
Repeat steps until done.
Let it sit, covered, in the fridge for 4 hours.
Before serving, garnish tops with more cookies/banana slices.
Eat up!
…
Thanks for reading, ya’ll. Now back to the editing board! I’ll hopefully have some stuff up about my trip in the next few days (fingers crossed 😉 )
xoxo


2 Comments
I love the sour cream tip, Abbey, and will definitely try this recipe! And here’s my own favorite whipped cream trick: Keep a small jar of lemon curd in the refrigerator (I use Chivers, which you can usually find at the HT with the jams and marmalades) and add a tablespoon or two to your almost whipped-to-soft-dollops heavy cream along with the vanilla and powdered sugar. It helps stabilize and gives a wonderful, slightly-lemon flavor that works with almost anything you’d want to serve whipped cream with. (Plus, I’m philosophically opposed to anything that calls itself fluff.)
Ha!!!! Too funny. We can call it marshmallow cream if it’s easier? I’m not even a marshmallow fan!! And truth be told, this is the only reason why the fluff slash cream is ever in my pantry. Love the lemon curd trick. Sounds delicious. And so smart!!! Thanks, Gail!